Advanced Waste Management Recycling Techniques in Canada for Effective Computer Hardware Disposal
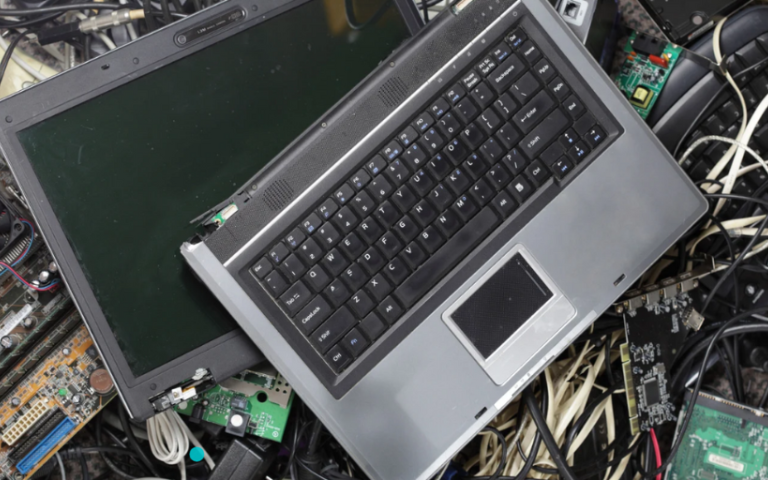
As technology evolves, the disposal of obsolete computer hardware becomes a pressing environmental concern. In Canada, advanced waste management recycling techniques are utilized to manage e-waste and recover valuable materials from discarded electronics effectively. This article delves into the sophisticated recycling methods employed in waste management in Canada to ensure environmentally sound disposal of computer hardware. Mechanical Recycling: Mechanical recycling is one of the most widely used methods for processing e-waste. This technique involves several key steps: Dismantling: Disassembling equipment, whether manually or mechanically, removes harmful components and separates different sorts of materials. Shredding: Disassembled parts are shredded into smaller pieces for subsequent processing. Separation: Advanced technologies such as magnetic separation, eddy current separation, and air classification are used to classify materials into metals, polymers, and glasses. Mechanical recycling improves resource recovery while reducing environmental effects. It works particularly well for removing bulk materials like aluminium, steel, and different polymers. Chemical Recycling: Chemical recycling techniques are employed to recover precious and rare metals from computer hardware. The main methods include: Hydrometallurgy is the extraction of metals from e-waste using water chemistry. Metals are dissolved in acidic or basic solutions before being recovered using selective precipitation, solvent extraction, or electrowinning. Pyrometallurgy: It involves smelting e-waste at high temperatures to separate metals from non-metallic elements. This process is excellent for extracting precious metals such as gold, silver, copper, and palladium. Chemical recycling is crucial for recovering high-value metals and reducing the reliance on mining virgin resources. It is also useful in handling complex electronic components that are difficult to process manually. Cryogenic Recycling: Cryogenic recycling is an innovative method that uses extreme cold to treat e-waste. The process involves: Freezing: E-waste is cooled to very low temperatures using liquid nitrogen or other cryogenic substances. Fragmentation: The frozen e-waste becomes brittle and is easily shattered into small pieces. Separation: The fragmented materials are then separated using various techniques, such as sieving and density separation. Cryogenic recycling is particularly effective for separating different materials without the risk of releasing hazardous emissions. It allows for the efficient recovery of metals and reduces the contamination of recyclable materials. Biological Recycling: Biological recycling leverages microorganisms to recover metals from e-waste. The process includes: Bioleaching: Metals are extracted from e-waste by bioleaching, which involves the implementation of specific bacteria or fungi. These microbes create acids that dissolve metals, which are subsequently extracted from the solution. Metal Recovery: Dissolved metals are retrieved using precipitation, adsorption, or electrowinning. Biological recycling is a developing area that provides a sustainable and environmentally beneficial alternative to standard recycling technologies. It offers the ability to recover metals while reducing environmental effects and energy usage. Closing remarks: Canada’s adoption of modern waste management recycling procedures for computer hardware disposal demonstrates the country’s commitment to sustainable e-waste management. Waste Management Canada uses mechanical, chemical, cryogenic, and biological recycling technologies to recover valuable materials and to safeguard the environment from dangerous trash. For effective computer hardware disposal, ESCRAP CANADA INC. is the finest solution. It provides complete services for successful computer hardware disposal, including environmentally sound recycling and resource recovery. Working with professionals like ESCRAP CANADA INC ensures that your e-waste is treated responsibly, resulting in a greener and more sustainable future.


